1. Create a Connection
MySQL, SQL Server, Cockroach.
You need to prepare your host, port, username, and password to get connected.
SQLite
You can create a connection or just double-click on the database file to open.
Note: Your database username and password are stored securely in your Keychain. We never sync any of your data to our server.
How to connect
- Open TablePlus app, from the welcome screen, click
Create Connectionat the bottom, or right-click on the connection view and chooseNew > Connection.... - Choose database type and hit
Create - Configure your connection using standard properties such as host, port, user credentials, etc;
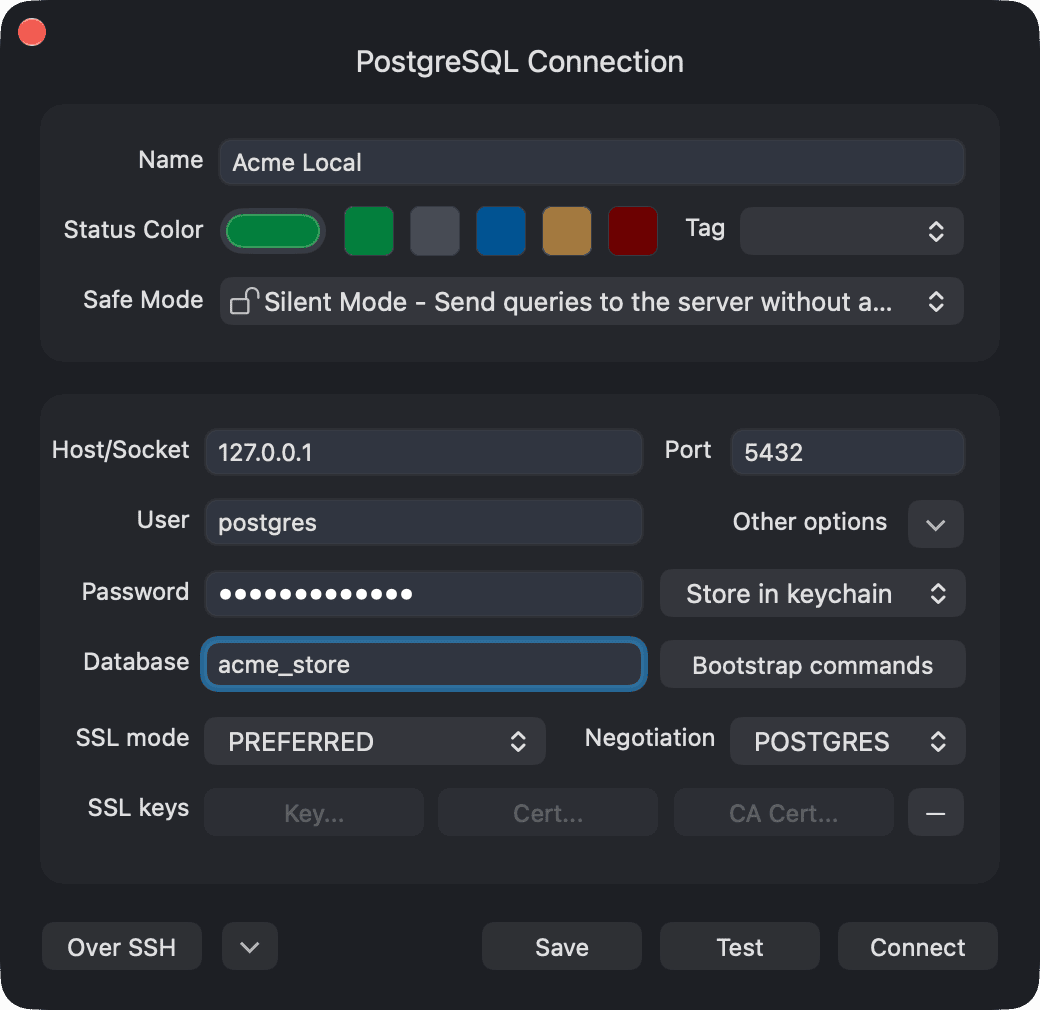
Or you can choose to import from URL, just copy and paste your URL. You can find and copy the URL from your server configuration.
For example, you can connect to our demo PostgreSQL database by importing this URL:
postgresql://[email protected]/postgres
2. Open anything
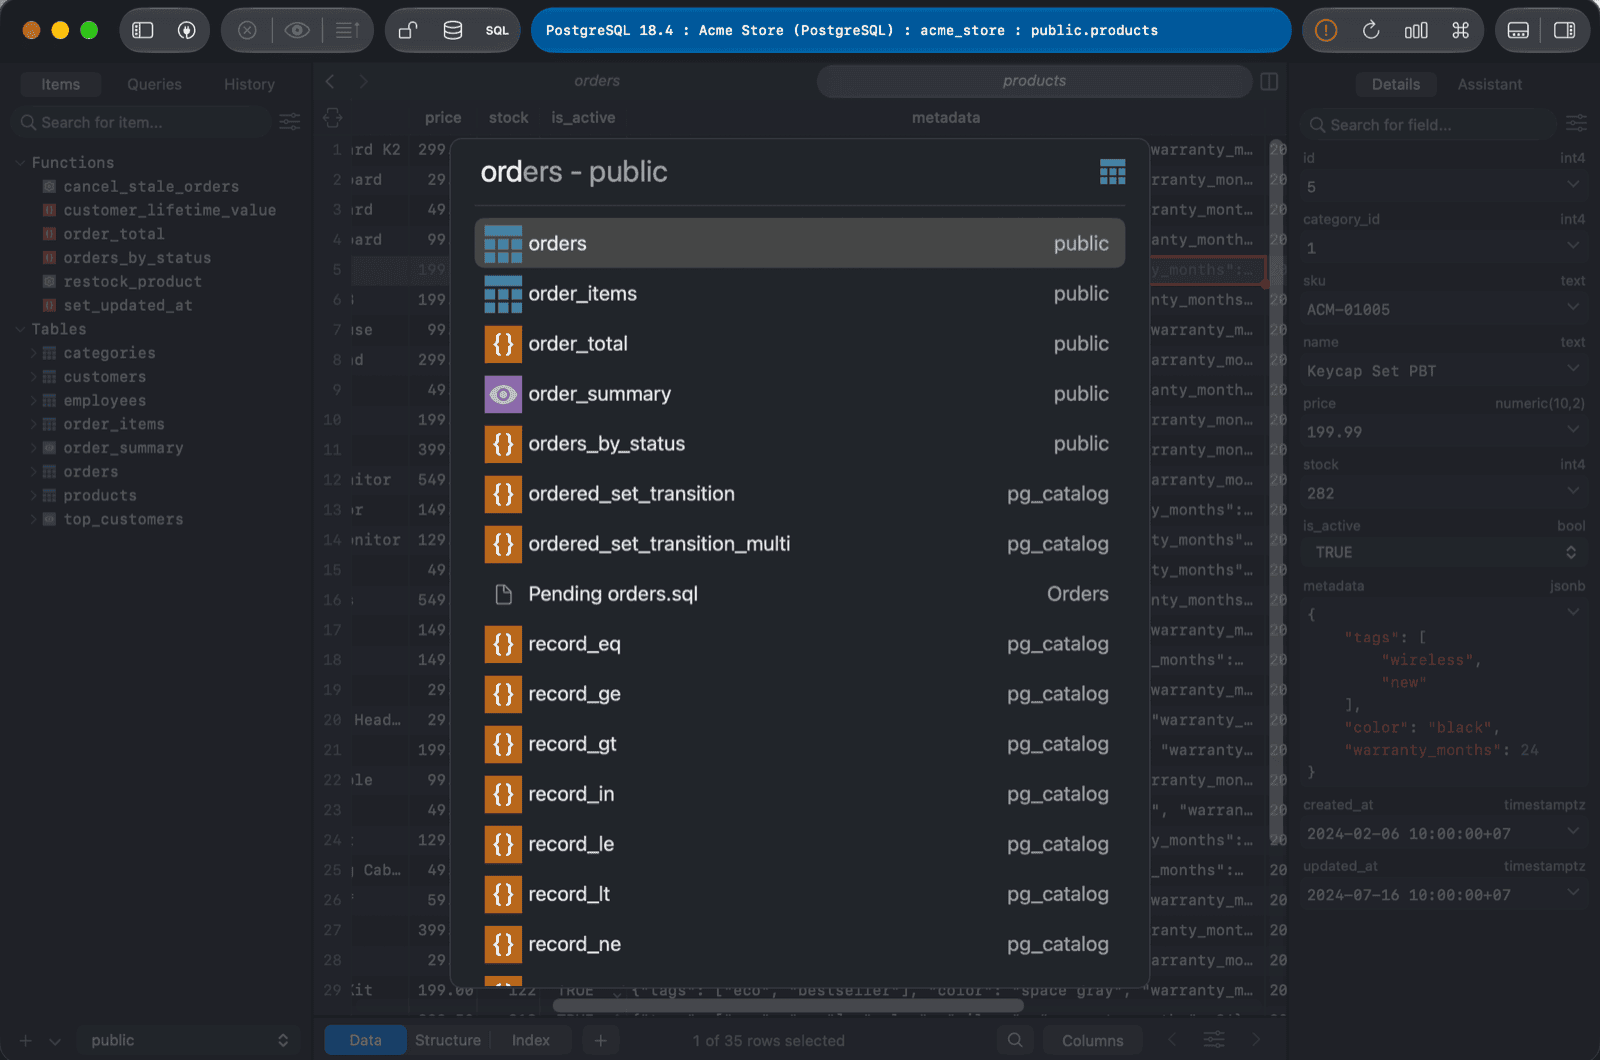
You can open anything using ⌘ + P, including database, table, schema, view, function...
3. Edit data
From the table view, you can edit data inline by double-clicking on the data cell or using the toggle view in the right sidebar. The toggle view can be enabled using the toggle button at the top right or by pressing Space.
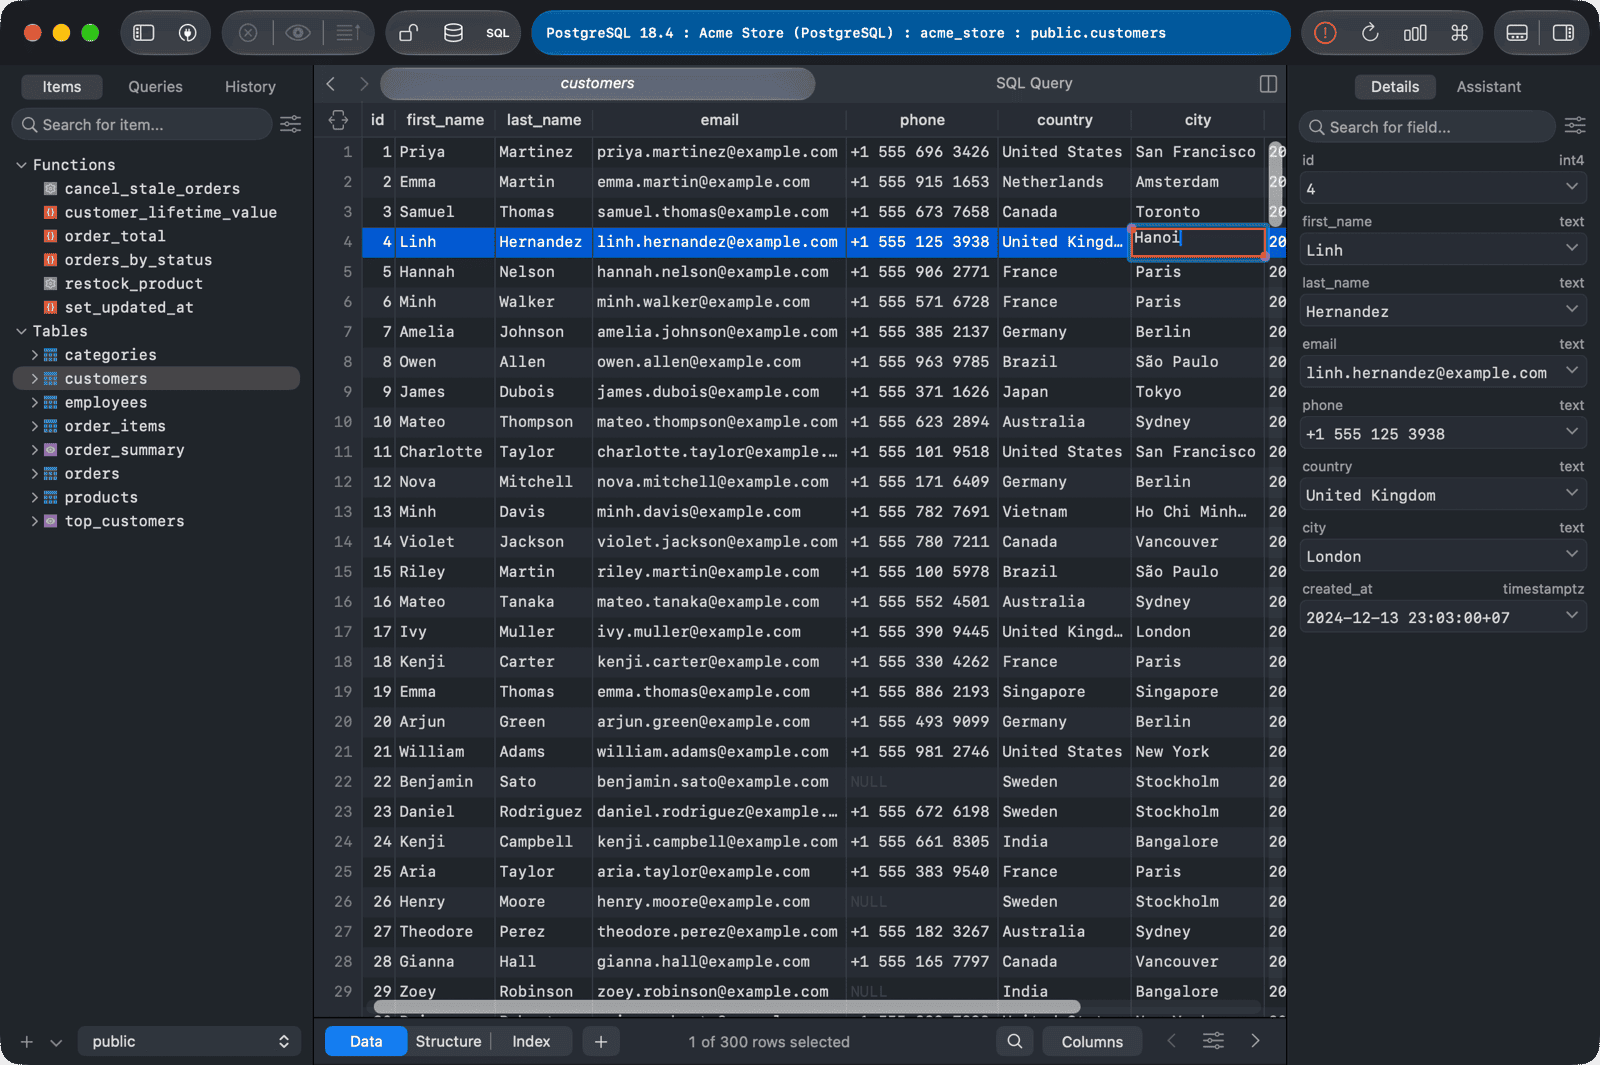
After editing, press Commit icon near the top left segment panel or use ⌘ + S to commit the changes to the database.
4. Save Changes to the Database
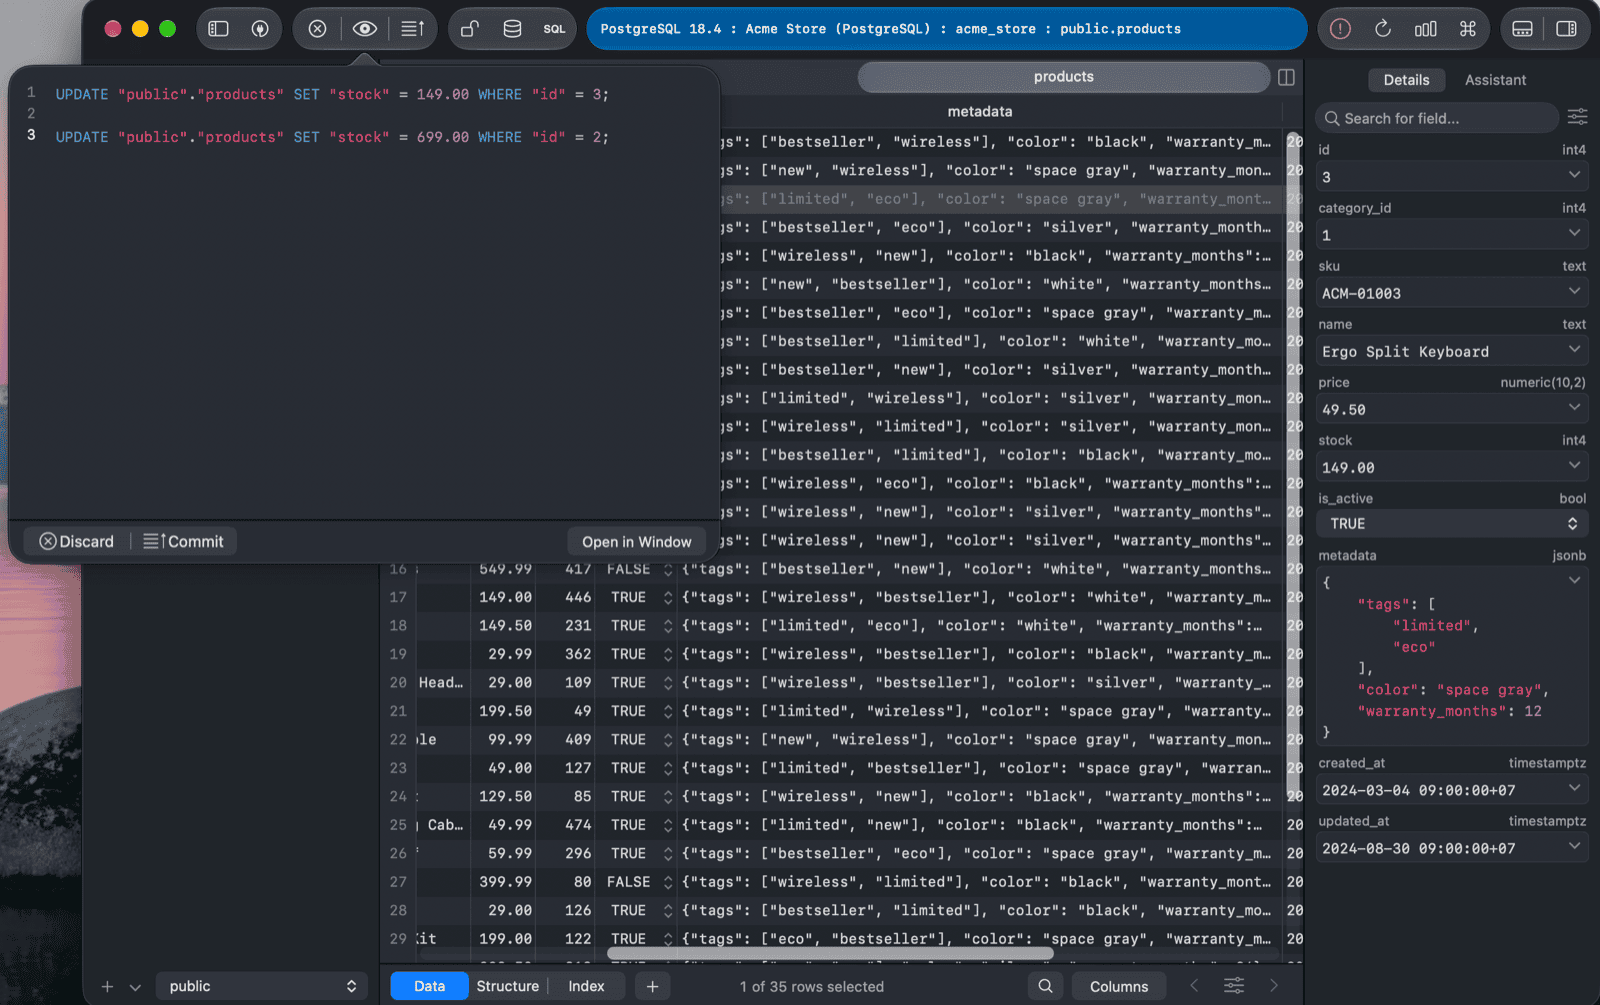
TablePlus does not send the queries that modify the database automatically to the server unless you confirm the changes. Therefore, after querying and editing your data from the app, you'll need to commit the change to the database. That's when your database actually gets modified. There are two ways to commit the changes:
- Using the top left segment control.
- Using the shortcut key: command + S.
Note: All the changes will be recorded in the history tab. TablePlus supports several safe mode levels to prevent human mistakes. Click on the Safe Mode button (near edit segment control) to enable it.
5. Open SQL Query Editor
You can click on the SQL Query Editor icon near the top left, or use ⌘ + Return (or ⌘ + E) to open query editor. TablePlus will open the editor with the most recent script.
6. Execute Queries
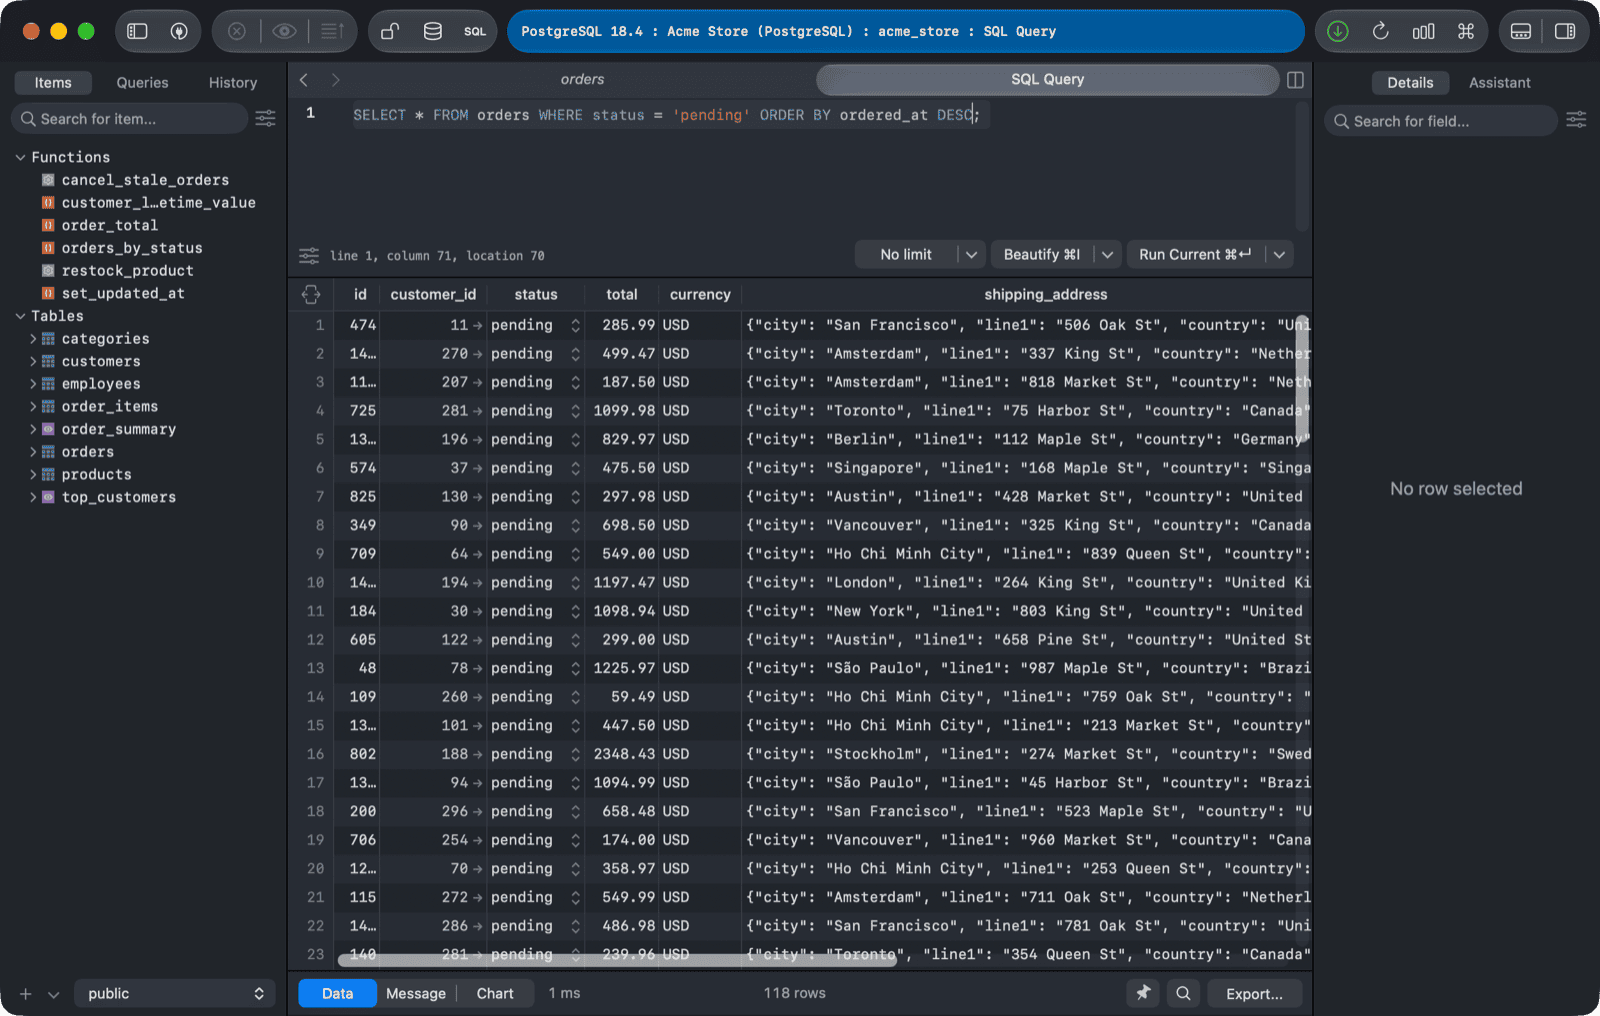
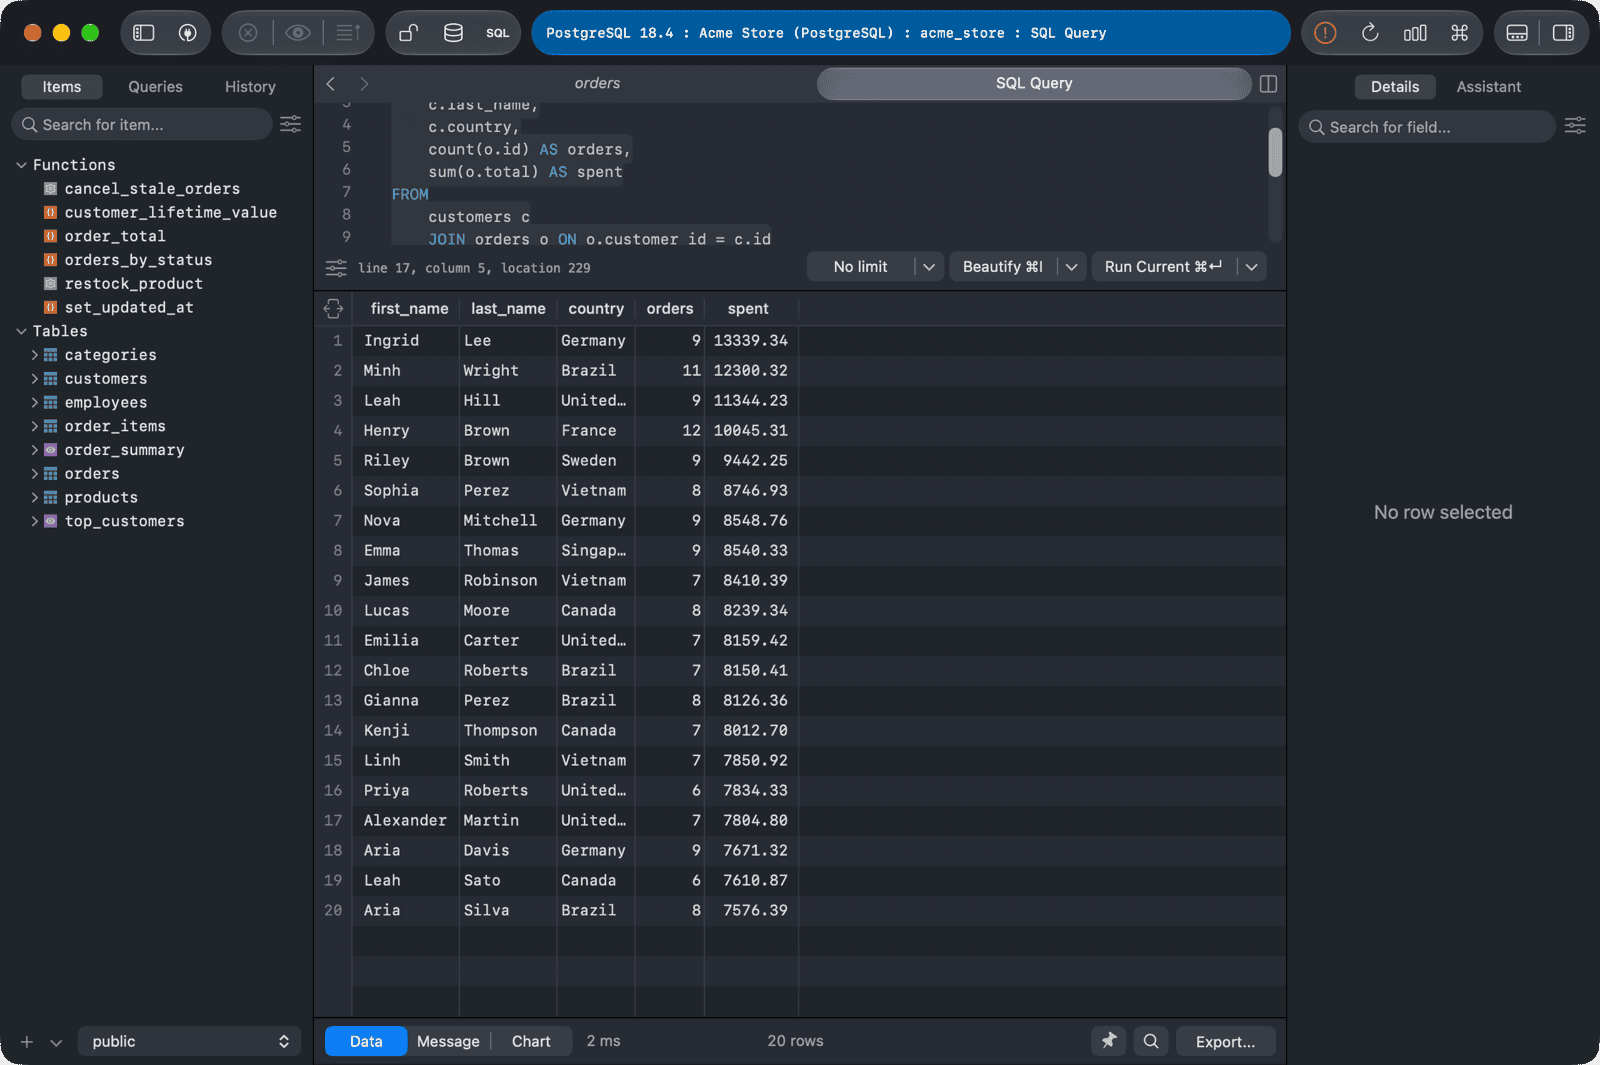
After writing your queries, press Run Current button, or use ⌘ + Enter, and TablePlus will execute the statement under the cursor. To execute all the SQL code in the editor, use ⌘ + Shift + Enter.
- You can change the default button to
Run Allfrom the dropdown nearRun Current, TablePlus will then run all the statements. - If you want to split results into tabs, click on the SQL Editor settings button at the bottom left, there are also many other settings (font, auto suggestion...)
7. Create Tables
When viewing the items tab in the left sidebar, right-click on the sidebar and choose New > Table, or you can use the + button at the bottom left and choose New Table to create a new table.
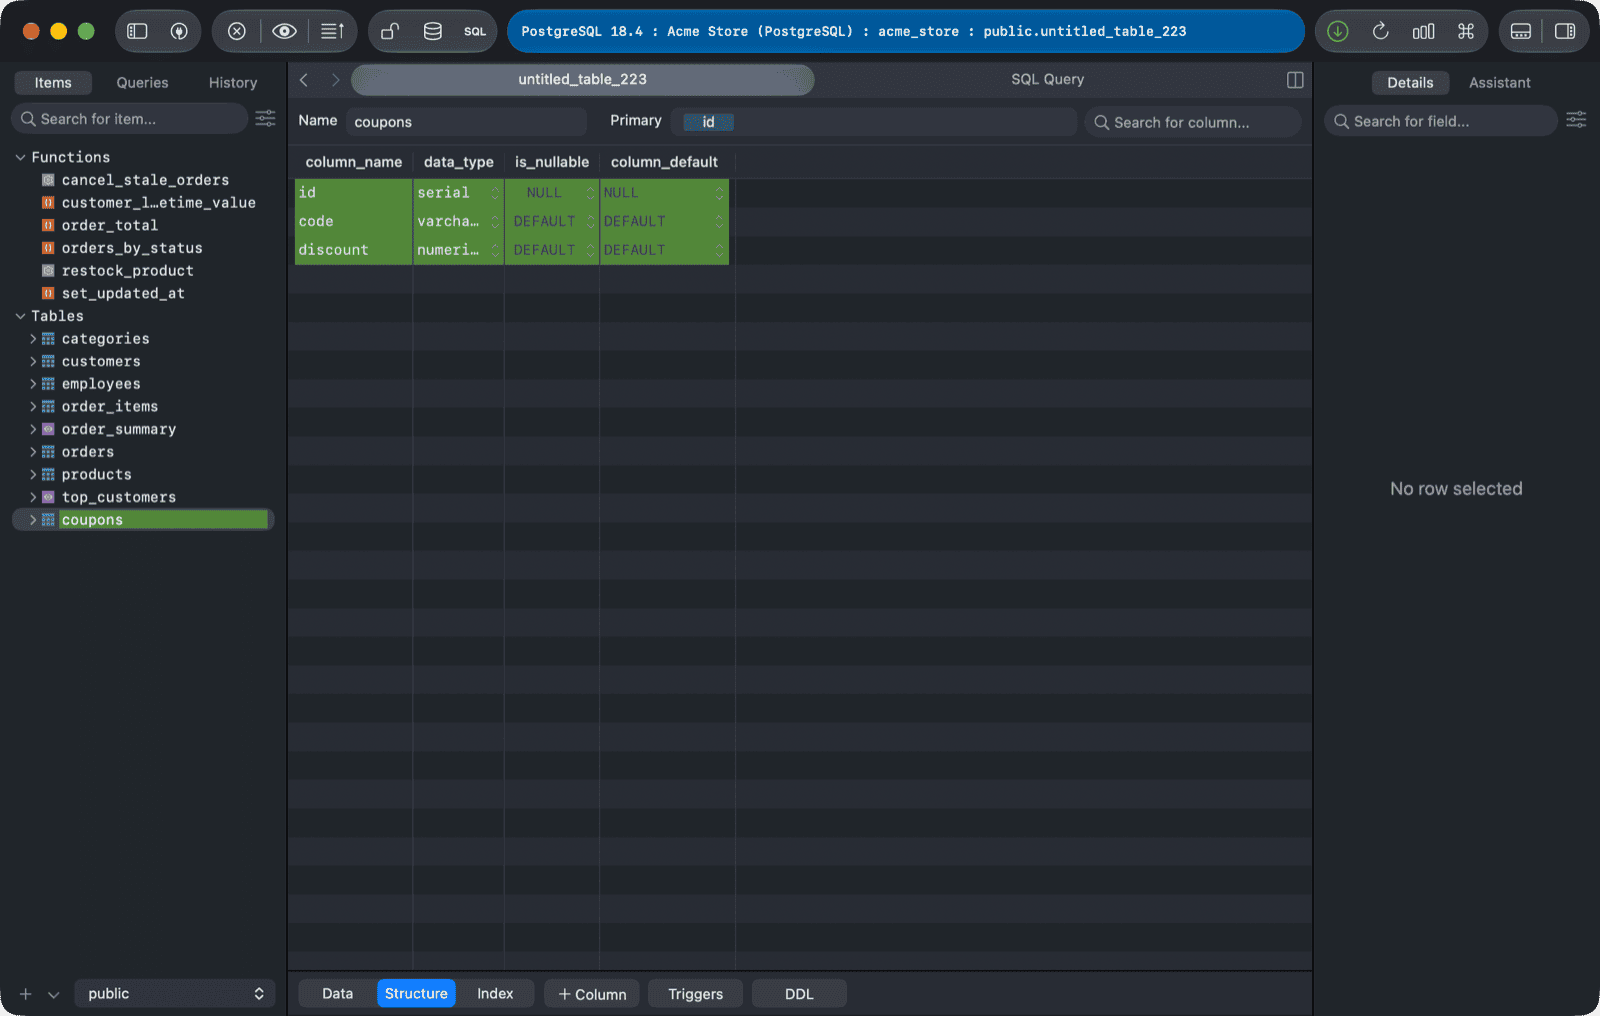
After creating, press Commit icon near the top left segment panel or use ⌘ + S to commit the changes to the database.
8. Show Data from Selected Columns
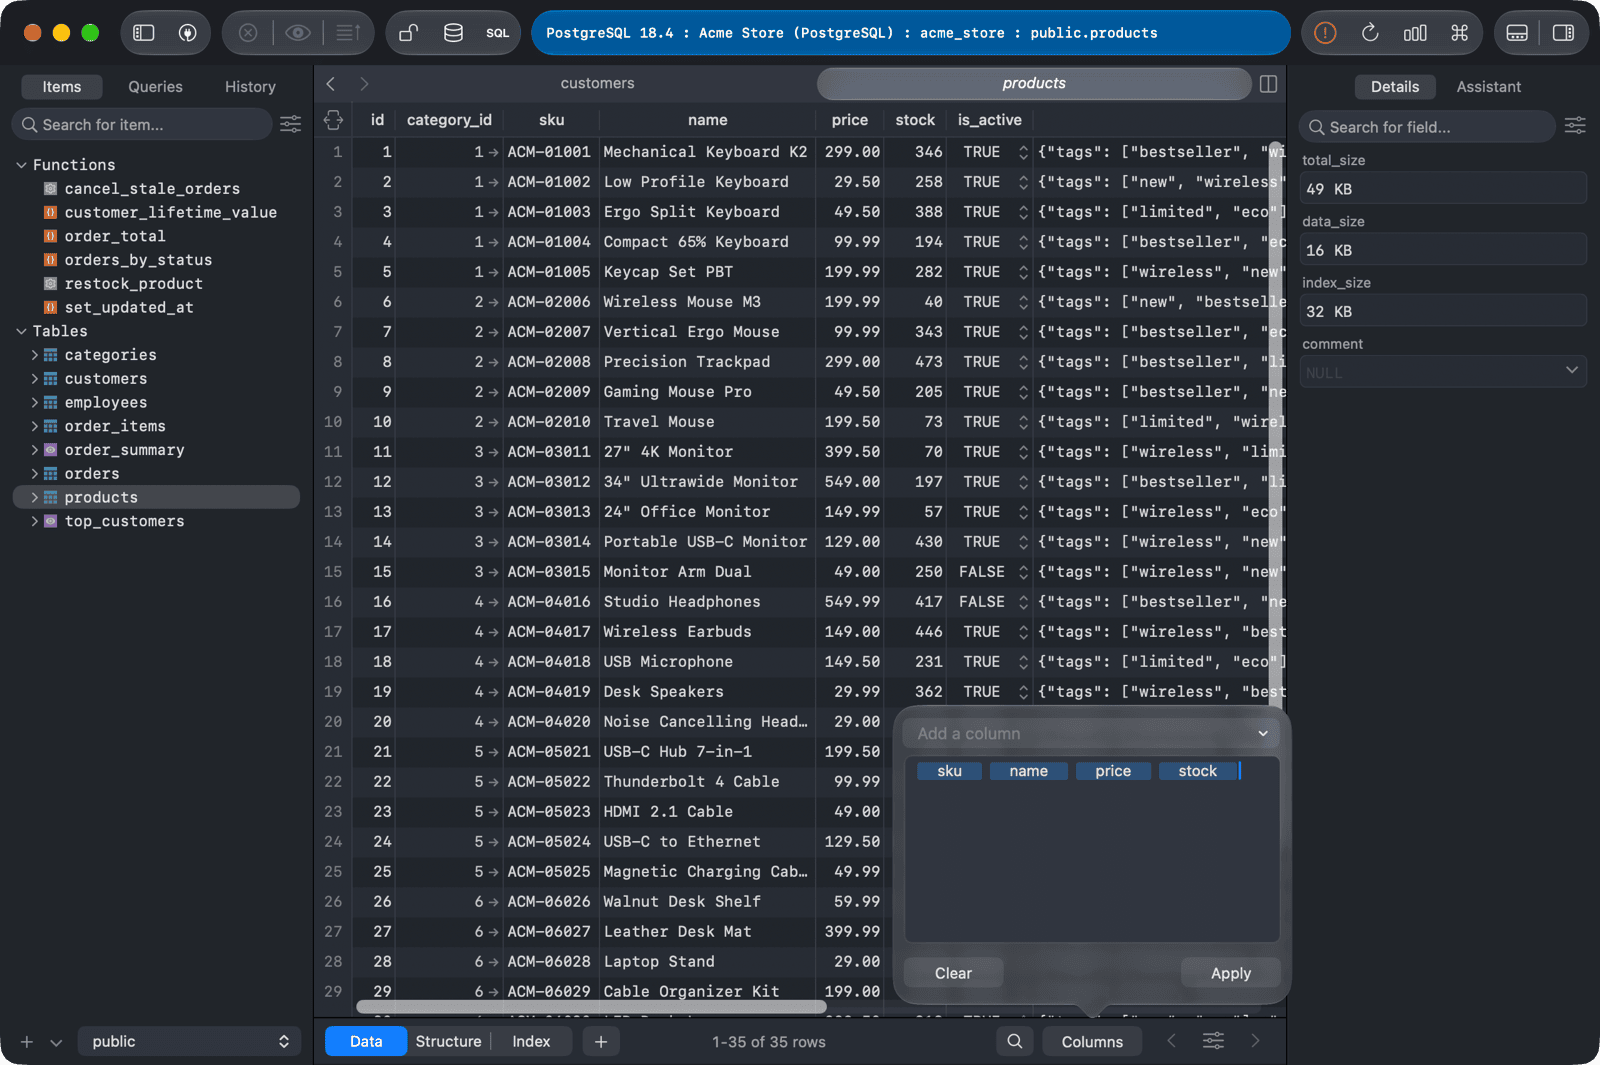
You can show data from the selected rows by the column name. Click the Columns button at the bottom of the workspace window and choose which columns to show.
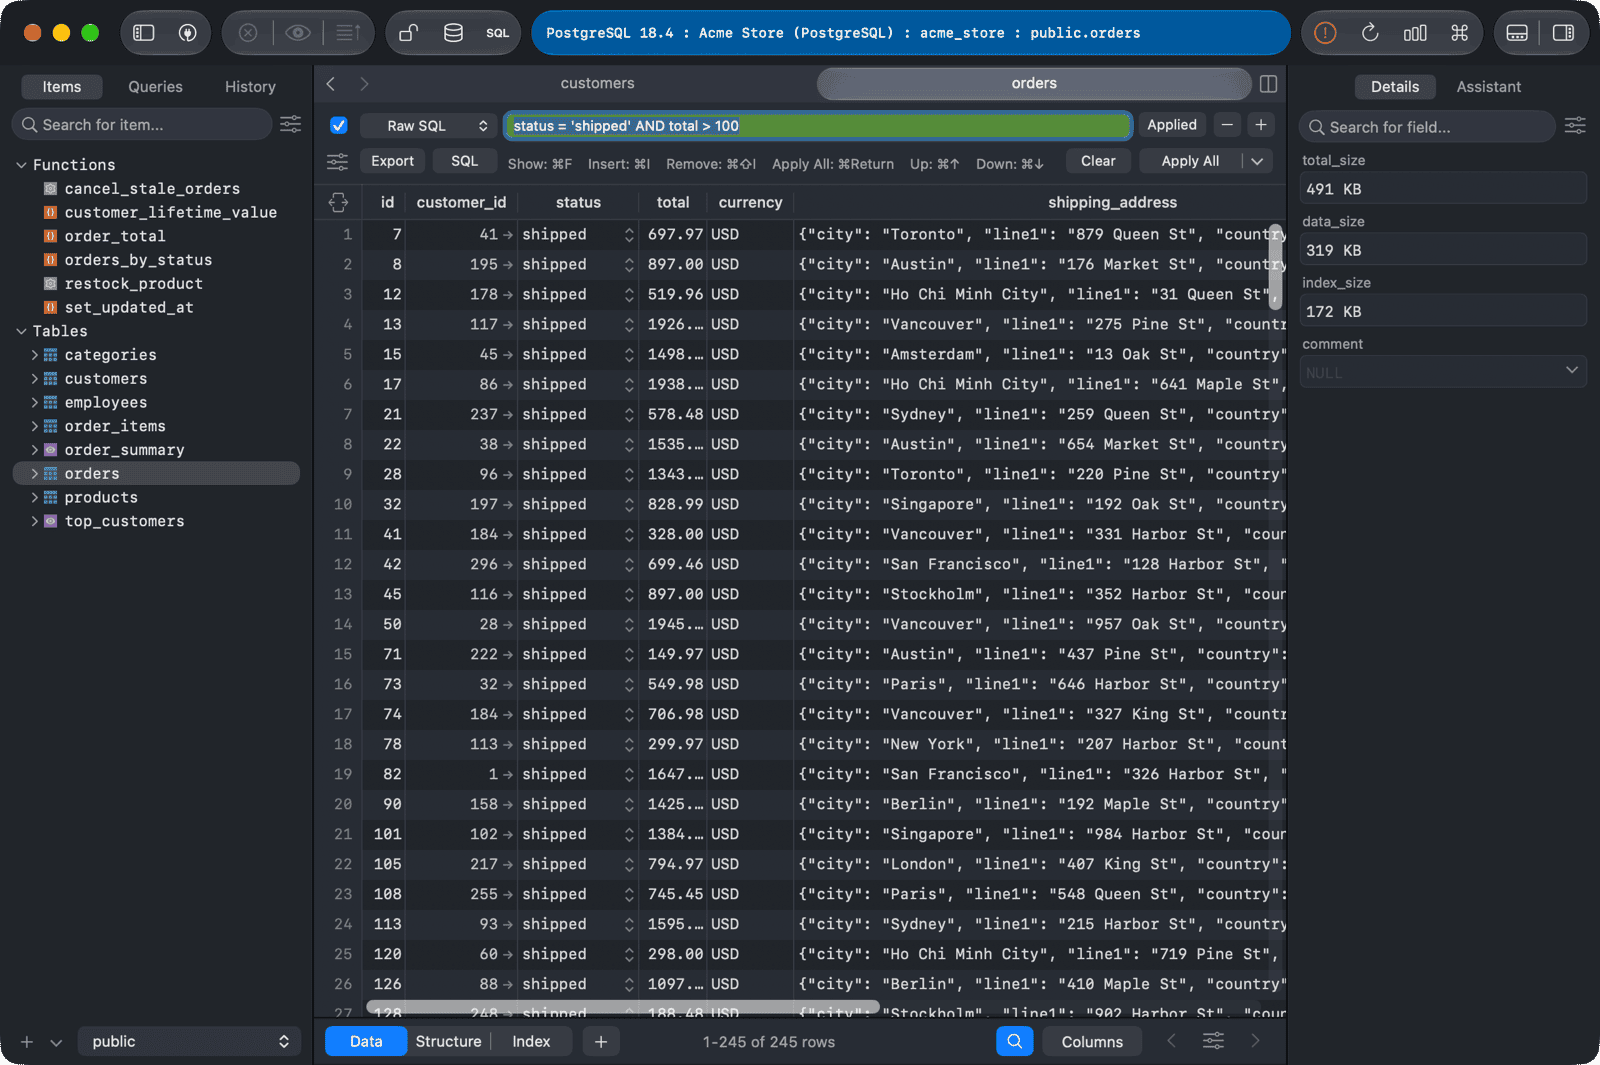
9. Filter Data
To open filter, press the filter button at the bottom of the window or use ⌘ + F
Each filter contains three simple boxes:
- a dropdown list of the column names
- common conditions such as
equal,contain,IS NULL,… - one text box to fill the value.
You can apply multiple filters to quickly filter out the records you want to see.
Press filter button again or use shortcut key ⌘ + F to turn off the filter.
10. Import Data
To import a CSV file to a current table:
- Choose
File > Import > From CSV...from the menu bar - Right-click on the table in the left sidebar or right-click in the data content and choose
Import > From CSV...
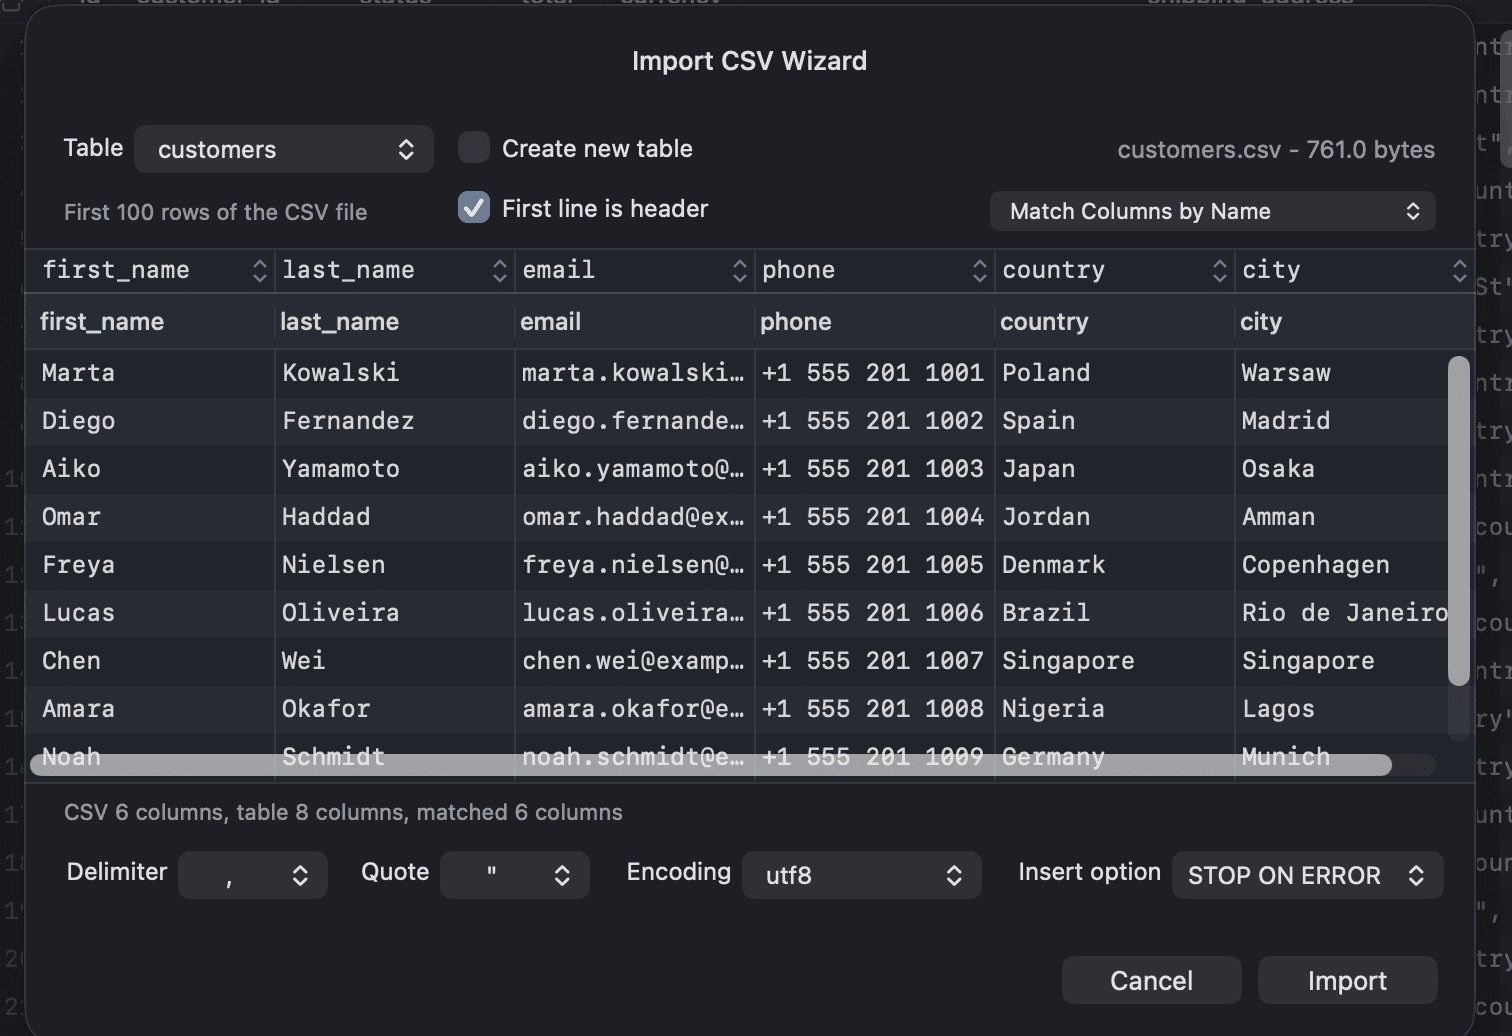
After importing, press Command + R to reload current workspace.
11. Export Data
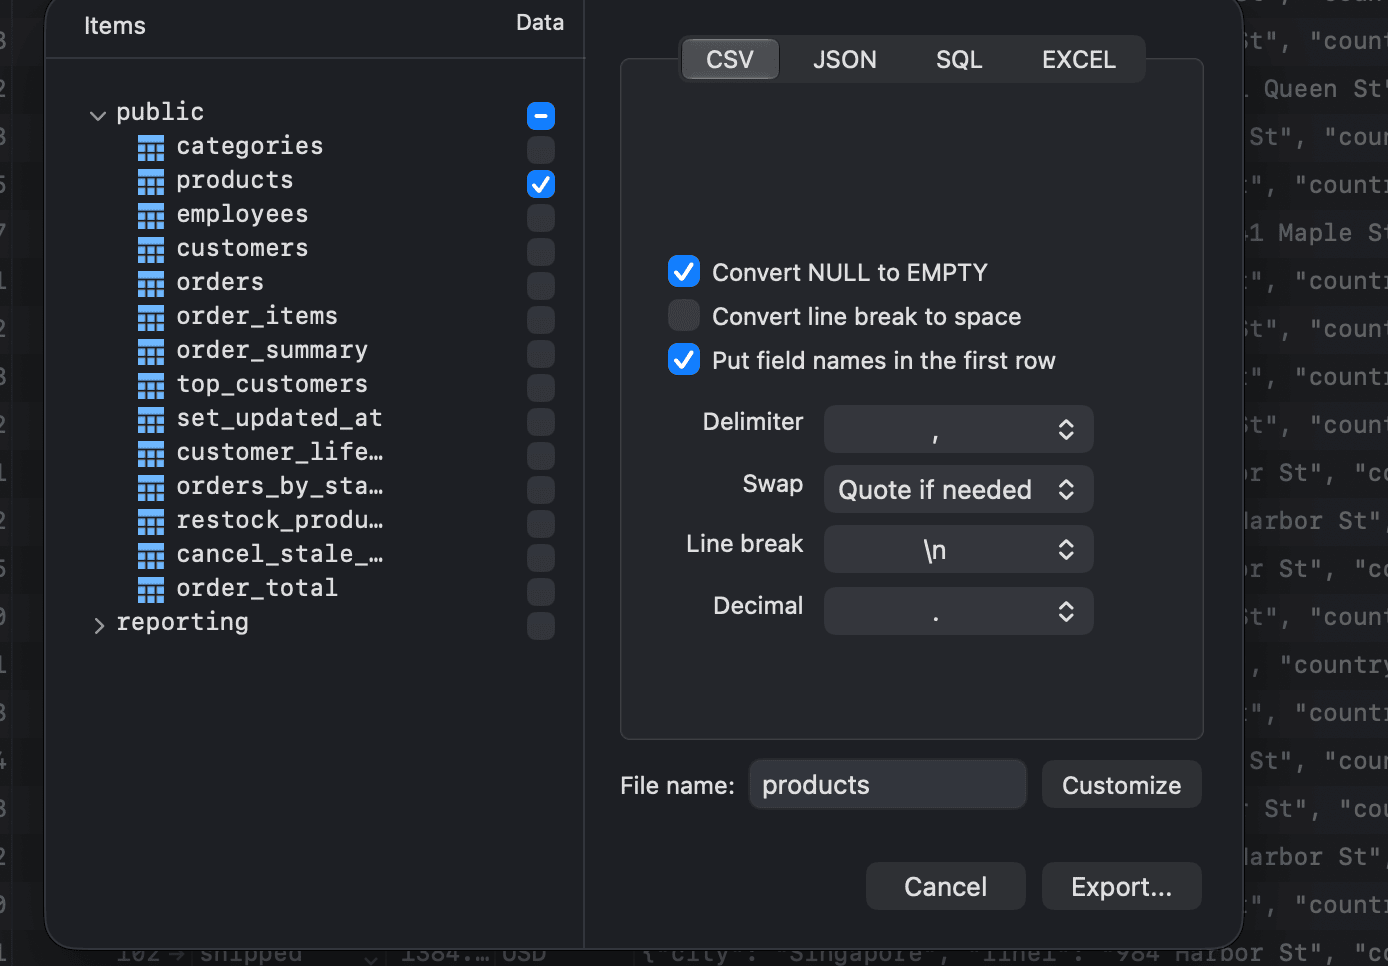
To export a table, right-click on the table name in the left sidebar and choose Export > Export Tables.... Note that if you right-click on the data browser view, it will export only the current page of results, not the whole table.
The output file can be CSV, JSON, SQL or Excel.
Read more on 11 tips to boost your productivity with TablePlus.